

Basic weatherization is a simple approach to improve comfort, energy efficiency, air quality, and the durability of an existing building. Weatherization is composed of two primary measures: Air sealing and insulating. Both are important for improving energy efficiency, but pursuing airtightness should take precedent.
After writing about some of the ways that Existing Buildings are Green, we had a question from one of our community members. Mary H asked, “ I don't understand why you consider older construction ecologically friendly when construction is so "loose" in older homes which makes heat & air so inefficient. Can you explain?”
First of all, thanks for asking! Keep the questions coming. To recap our conversation, I shared that older, existing buildings were greener than new construction because they were built with local, renewable materials; they were built buy local tradesmen with a higher degree of craftsmanship than seen in most buildings today; they were designed for thermal comfort with porches, double-hung windows, high-ceiling, and other means; homes and the business district were compactly developed, with walkability in mind, which allowed exercise and increased opportunity for more social interaction.
In terms of airtightness, older building were always a bit leaky. Remember older homes did not have air-conditioning until at least the mid-1950's. Also, many of our more modern sealants, gaskets, and smart air barriers had not even been dreamed up. It has taken us this long to realize that a holistic "whole building approach" was necessary for energy efficiency retrofits.
Today we have to re-think everything from the inside out.
Scientifically Speaking
Believe it or not, “looseness and tightness” are quasi-technical terms used in many architectural systems textbooks like “Mechanical and Electrical Systems for Buildings”. I still refer to my ancient 9th Edition of this tome from college days.
Mary’s intuition was right. One of the largest causes of energy lossers in older, existing buildings is infiltration. It can increase space-conditioning costs from 5% to 40%, according John Krigger in his book “Residential Energy: Cost Savings and Comfort for Existing Buildings”.
Sealing up building air leaks is a primary key for improve existing building energy efficiency. In today’s high-performance buildings, airtightness is often a major goal for architects, engineers, and building energy experts.
Historic property owners often have the most to gain from basic weatherization. In my opinion, the older the property the more basic weatherization can help reduce your energy expense.
Don’t Buildings Need to Breathe?
This common idea has been hotly debated in past decades. If you agree to this, you are saying that it is okay to provide fresh-air ventilation by way of unintended air-leakage. Modern building science rejects this notion, as it causes moisture and air-quality issues, among others.
Before every building came standard with an heating, ventilation and air-conditioning (HVAC) system, one might argue that the leaks and gaps in the exterior envelope were necessary.
The loose construction allowed fresh air to be pulled inside while Grandma cooked Sunday dinner on her old stove. Like us, fire needs oxygen to exist, and as such, we both smother when exposed in too much Carbon Dioxide (CO2).

U.S. Department of Energy
The problem with using unintended air leakage for ventilation, is that it cannot be controlled. During cold or windy weather, too much air might enter the building. Then, when it's warmer and less windy, not enough air may enter. This can result in poor indoor air quality.
Indirect Air-leakage is Tough to Address
The cracks we can see on the inner surface offer little insight into how much indirect leakage occurs in an exterior wall, roof or floor. Wind blowing against your home may cause opposing pressures around the exterior. Wind can be driven past the siding and into the wall, to emerge through an electric receptacle on an outside wall, around a sink drain, etc.
Conversely, turning on an bathroom vent fan or cooktop exhaust fan can create enough negative pressure inside to pull in surrounding, outside air. An improperly balanced HVAC system can be pulling air in or out of the building too.
Loose Buildings Promote Poor Air Quality
Do you really want to breathe the dank air from your crawlspace that migrates up through floor boards, or air that gets sucked under the bottom plate of the house, through old carpeting, or walls full of allergens?
In early days relatively few homes had any insulation, or vapor/air management layers, but building materials were of high quality with little harmful chemicals. Today things have reversed. The average home includes building materials that are lower quality, less renewable, and include many toxic chemicals in their production.
Controlling air leakage is even more critical since the advent of insulation. The more insulation in the envelope, the more critical it is to ensure airtight construction. This is why one of the key Passive House Principles is airtight construction.
“The building envelope is extremely airtight, preventing infiltration of outside air and loss of conditioned air.”
Air leakage containing moisture (humidity), can more easily reach a dew-point within the wall system loaded with insulation. At the dew point, water condenses on a cooler surface, often inside the wall, causing moisture and mold to form.
Infiltration Reduction
In a 2012 Austin Energy program evaluation by GDS Associates, Infiltration Reduction was the #2 most commonly implemented weatherization measure in the Austin Weatherization Assistance Program (WAP) customer homes. For this service, the program's average expense was $400 per customer, and reduced overall infiltration by 58%. This means less drafts, better air quality, and lower utility bills. Not bad for free!
The top ten measures tracked in the database as implemented included:
1) Hot Water Pipe Insulation
2) Infiltration Reduction
3) Lighting Retrofit
4) Ceiling/Attic Insulation
5) Seal Ducts
6) Replace Heating System
7) Replace AC
8) Solar Screens
9) New A/C Disconnect & Whip
10) Smart Thermostat
Show You the Money
Many utility providers and state governments offer weatherization incentives such as this one. Since these types of services are often free, they offer the best return on investment (ROI) you can get for your home.
The best place to find out what is available in your area is through Database of State Incentives for Renewables & Efficiency®. Even though my home state has a disappointingly low set of incentives, I have capitalized on several during the last few years' home updates. The weatherization assistance, rebates, and tax credits are especially nice.
The energy bills in my My Mother-in-Law’s 1905 home decreased by at least 50% each month after weatherization was performed. This included air-sealing and adding attic insulation. Quite remarkable that this home had never been insulated until then! Just think of all the lost energy!
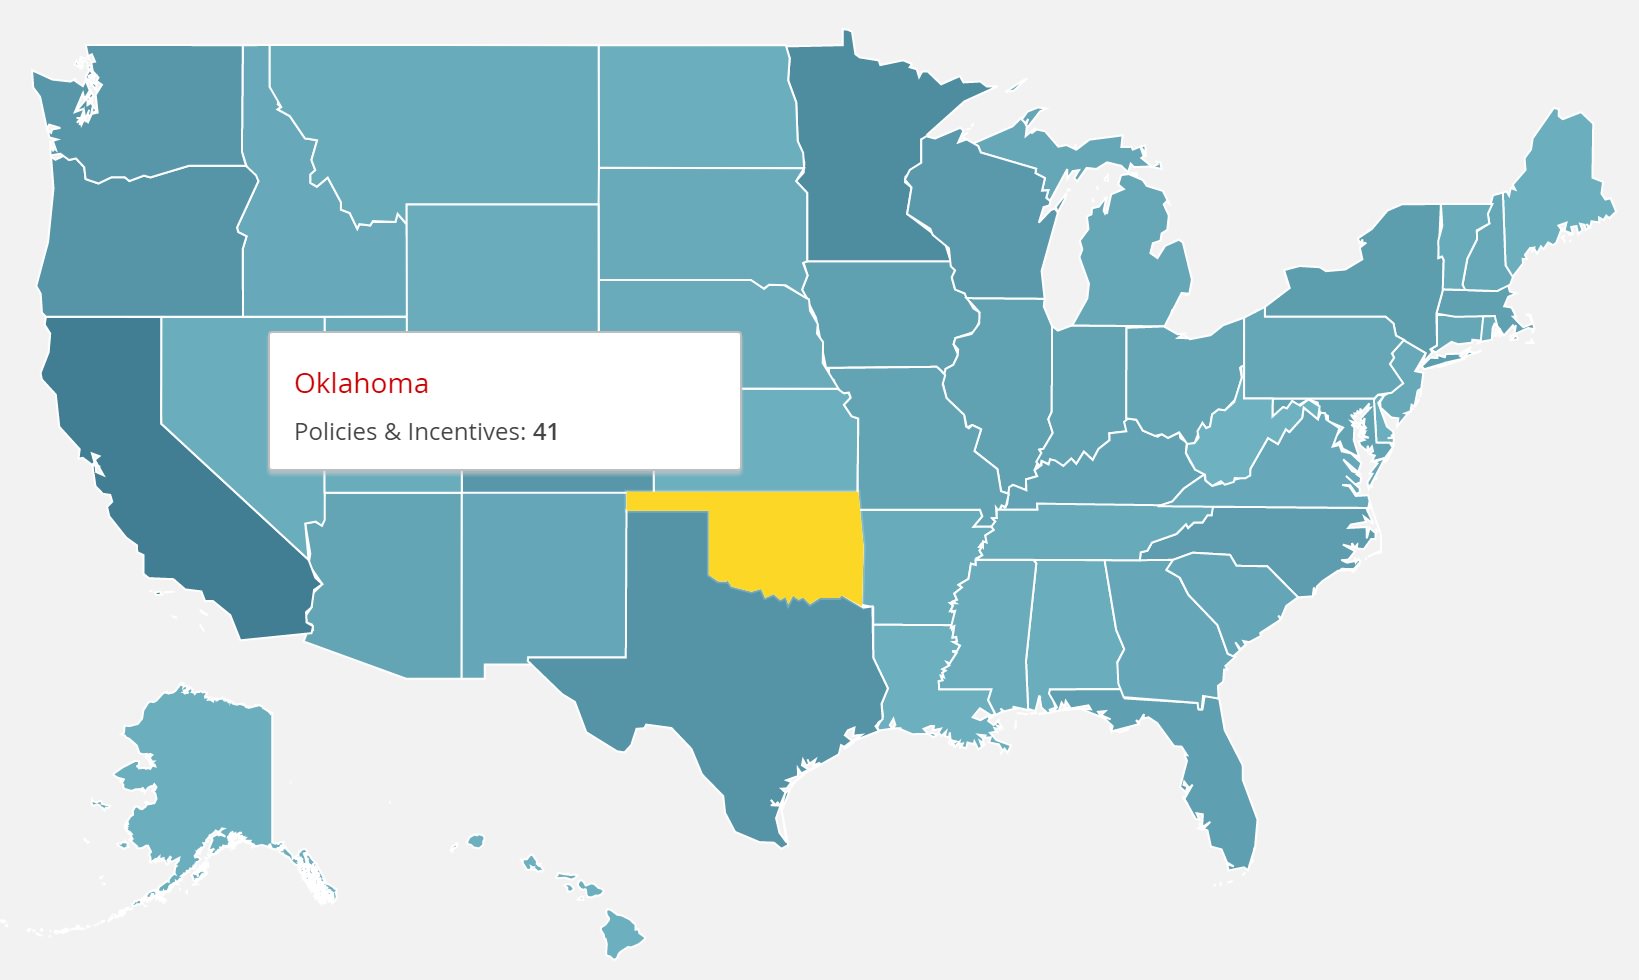
Screenshot from http://programs.dsireusa.org/system/program/maps
DIY Air-Sealing & Weatherization
If your area does not have weatherization incentives, or you do not qualify, I would encourage you to get some estimates for similar services. You can even do much of the work yourself! In truth, every single home has some hidden energy efficiency to find.The US Department of Energy has a tidy list of the top places to look for leaks in your home.
TIPS FOR SEALING AIR LEAKS *(List below from referenced Department of Energy webpage. Testing and verifying for airtightness, may require a Blower Door analysis.)
- Test your home for air tightness.
- Caulk and weatherstrip doors and windows that leak air.
- Caulk and seal air leaks where plumbing, ducting, or electrical wiring comes through walls, floors, ceilings, and soffits over cabinets.
- Install foam gaskets behind outlet and switch plates on walls.
- Inspect dirty spots in your insulation for air leaks and mold. Seal leaks with low-expansion spray foam made for this purpose and install house flashing if needed.
- Look for dirty spots on your ceiling paint and carpet, which may indicate air leaks at interior wall/ceiling joints and wall/floor joists, and caulk them.
- Cover single-pane windows with storm windows or replace them with more efficient double-pane low- emissivity windows. See the Windows section for more information.
- Use foam sealant on larger gaps around windows, baseboards, and other places where air may leak out.
- Cover your kitchen exhaust fan to stop air leaks when not in use.
- Check your dryer vent to be sure it is not blocked. This will save energy and may prevent a fire.
- Replace door bottoms and thresholds with ones that have pliable sealing gaskets.
- Keep the fireplace flue damper tightly closed when not in use.
- Seal air leaks around fireplace chimneys, furnaces, and gas-fired water heater vents with fire-resistant materials such as sheet metal or sheetrock and furnace cement caulk.
- Fireplace flues are made from metal, and over time repeated heating and cooling can cause the metal to warp or break, creating a channel for air loss. To seal your flue when not in use, consider an inflatable chimney balloon. Inflatable chimney balloons fit beneath your fireplace flue when not in use, are made from durable plastic, and can be removed easily and reused hundreds of times. If you forget to remove the balloon before making a fire, the balloon will automatically deflate within seconds of coming into contact with heat. A reasonably capable do-it-yourselfer can create an inexpensive, reusable fireplace flue plug by filling a plastic trash bag with fiberglass batt scraps and jamming it into the flue. Attach a durable cord with a tag that hangs down into the fireplace to (1) remind you the flue is blocked and (2) provide an easy plug removal method.
When to Weatherize
When is the best time of year to perform weatherization? I personally prefer mid-spring through mid-fall. Additionally, for attic work, I am not a fan of summertime heat.
We did not touch on Insulation - the other major part of weatherization. Although, it may have the largest net effect on comfort and energy efficiency, I plan to save this for a later post.
Have you ever done a major weatherization retrofit for an older home or commercial building? I would love to hear your stories on improved comfort and decreased energy bills.